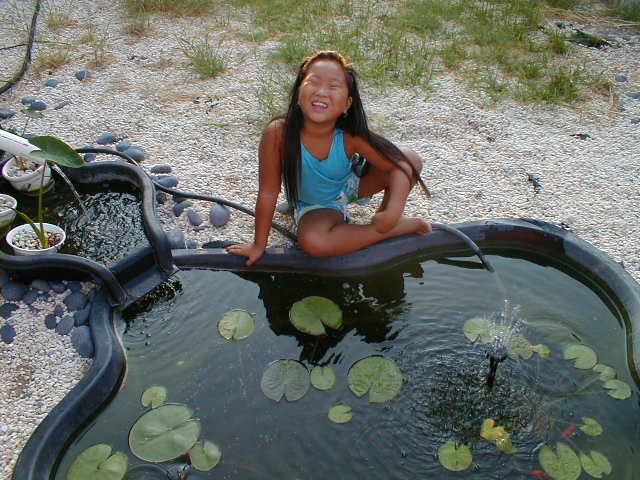
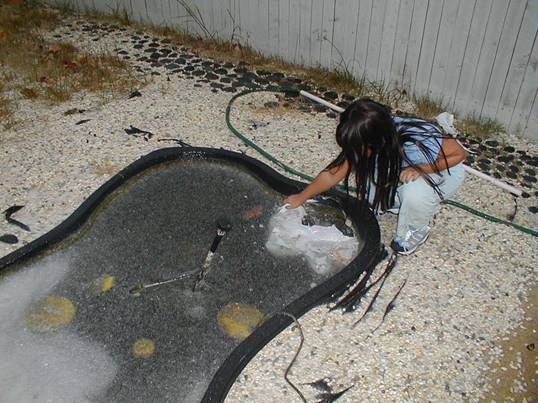
The beginning of our Pond Summer of 1999.
A small preformed 150-gallon pond kit with a homemade lava rock bio filter.
Charlotte is seven years old.

Our first winter.
The fish and the plants survived in the pond, but the plants in the waterfall froze solid and did not make it.
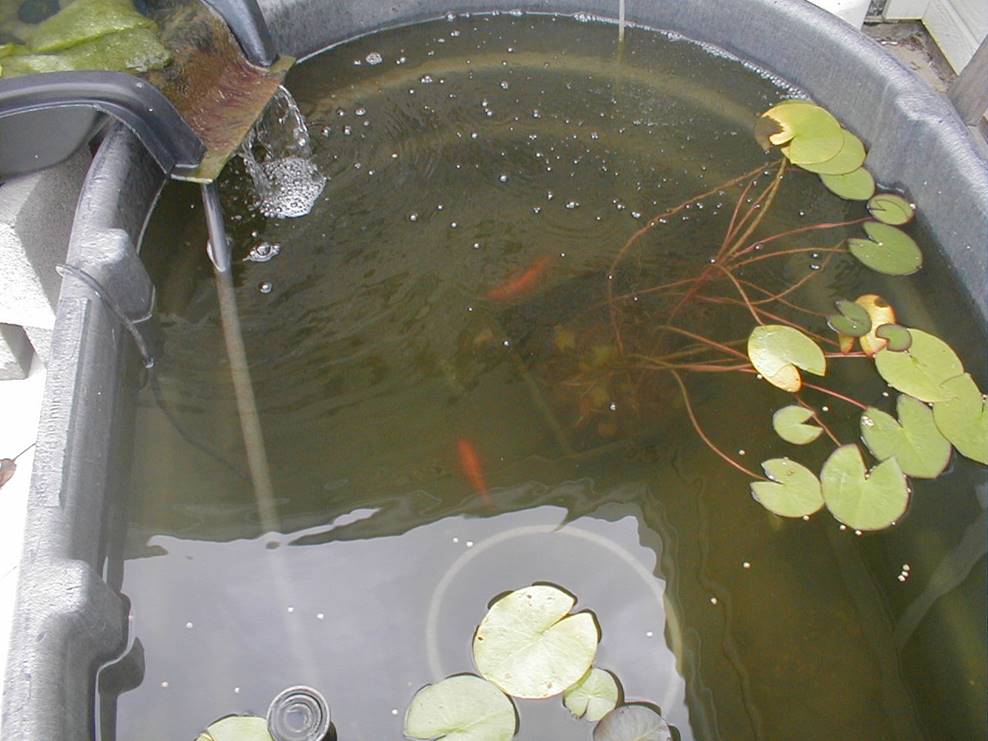
The pond liner cracked in 2001 and we moved up to a Rubbermaid 500-gallon stock tank. We used the same filters and waterfall.
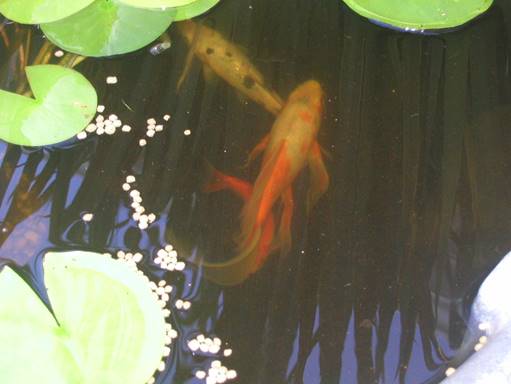
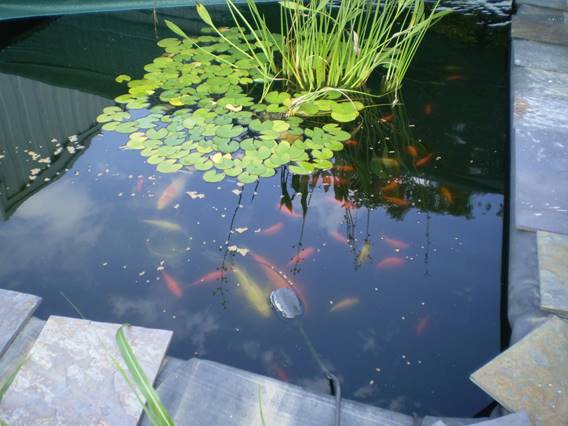
We added our first Koi to the pond. So exciting!
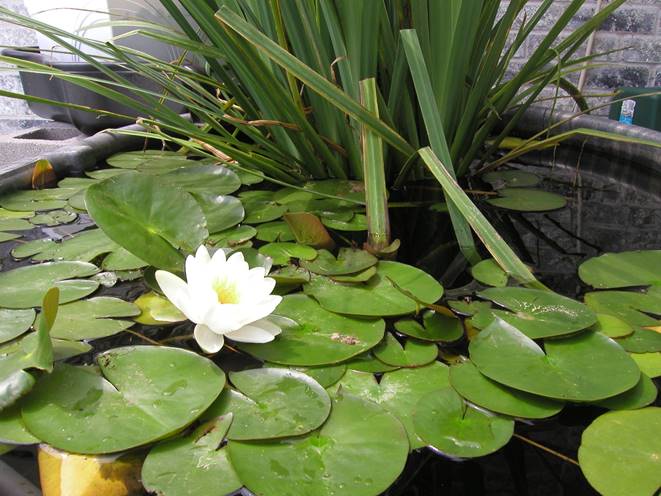
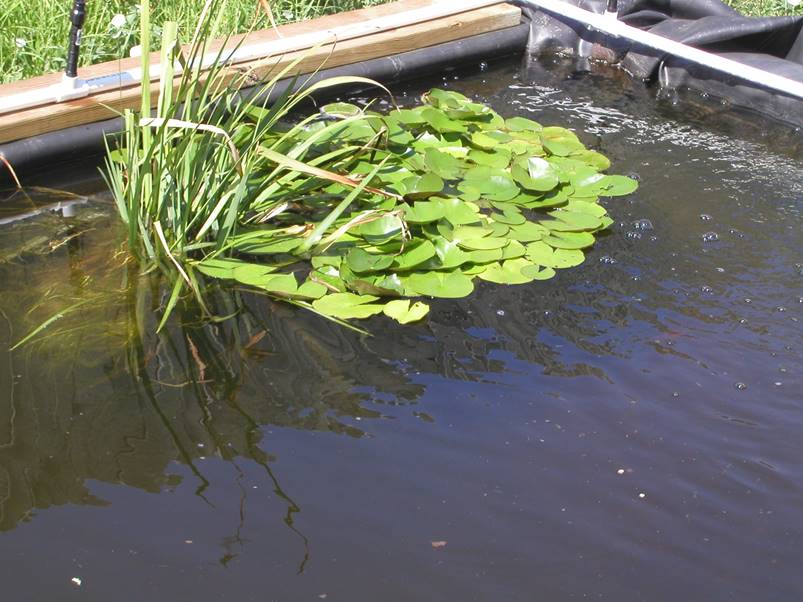
2002: added Louisiana Flag Iris to the pond. The plants were taking over the pond.
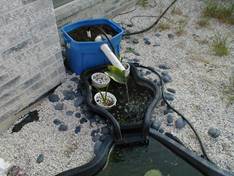
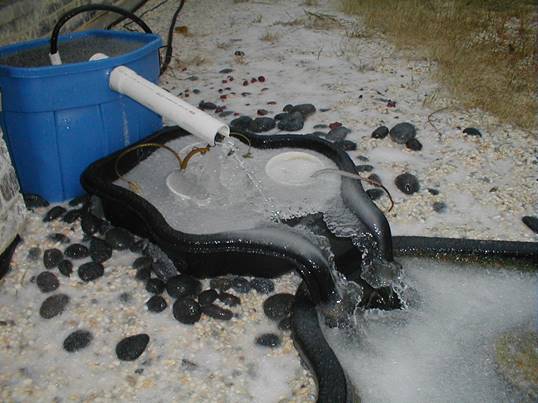
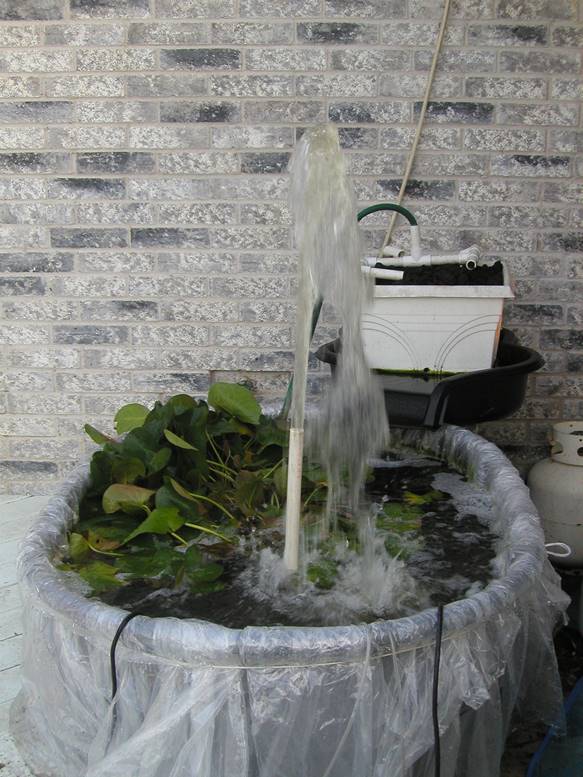
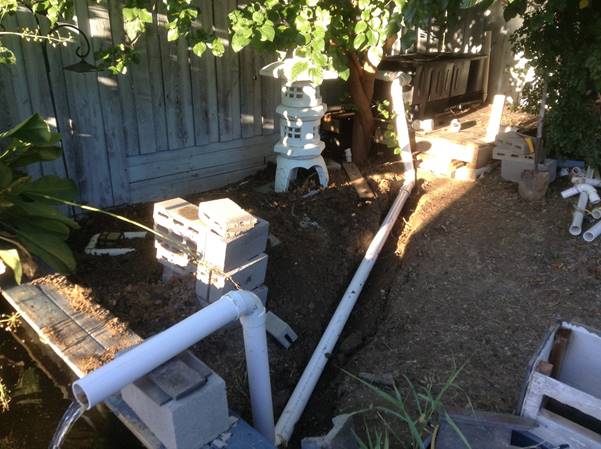
After the stock tank cracked, I had to do a quick fix using plastic sheeting.
Here you see the pump spraying before I hooked the filter back up.
2003: We started looking at building a bigger pond. Looked at ponds during the North Dallas Pond tour.
After looking at ponds and talking to pond keeper, we decided larger was better and started planning our next pond.
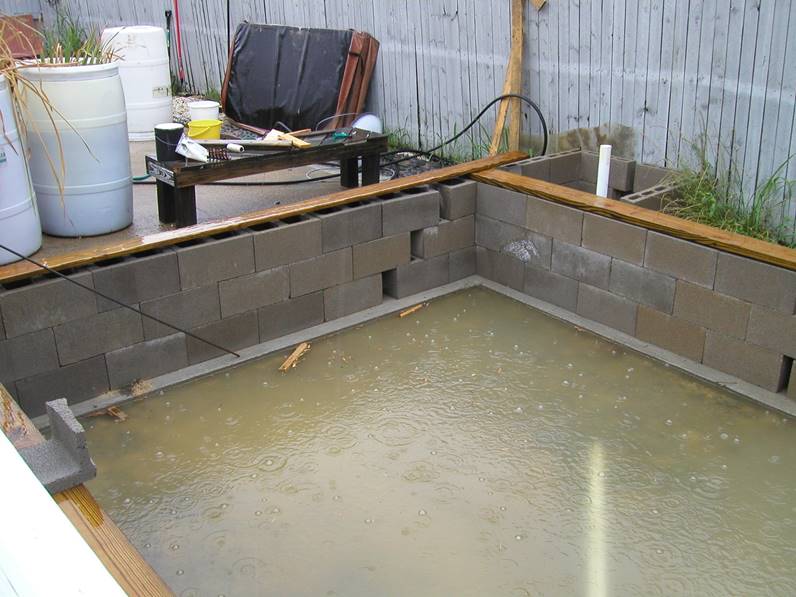
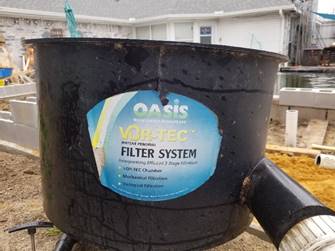
3,000 gallons, firestone pond liner, bottom drain, 55-gallon drum filter and 2,000-gallon pump.
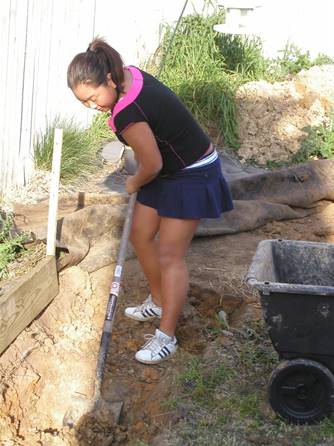
March 20th, 2005, we broke ground on our new pond. Charlotte and Craig hand dug two feet into the ground and one-foot above ground to meet the existing deck level. Charlotte is now 12 years old.
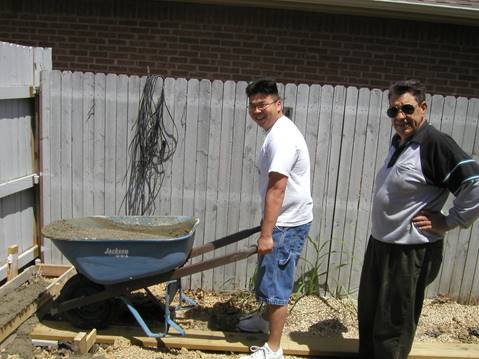
Friends came over to help us with construction. Here are John and Ted Musantry.
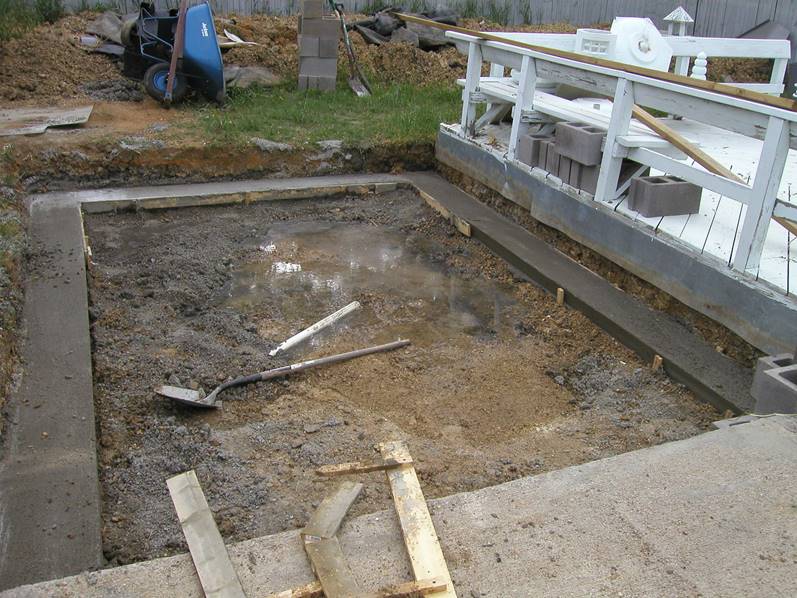
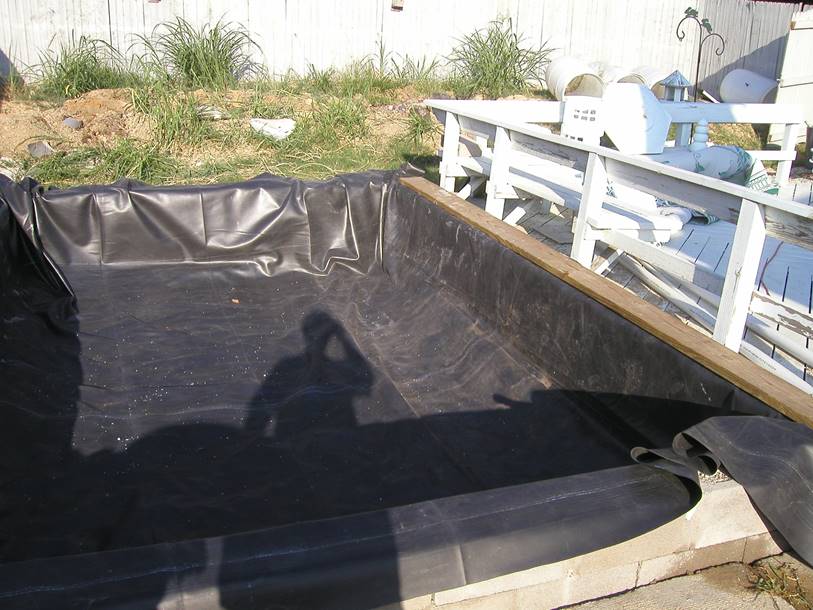
The Firestone pond liner is going in. After having two plastic liners crack, I wanted a liner that would last and I would not have to worry about.
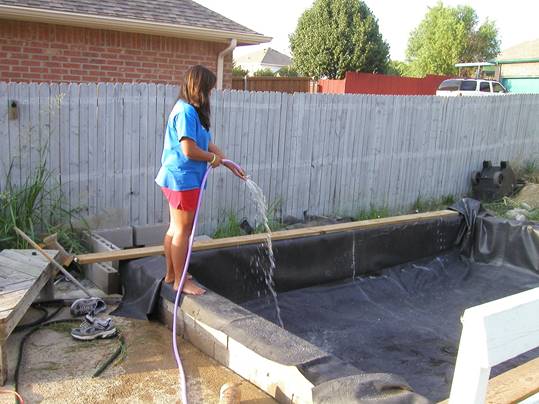
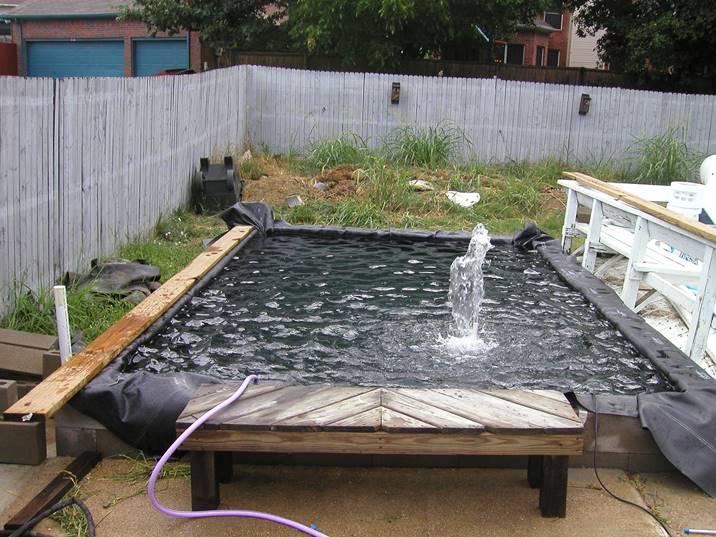
Charlotte is helping to fill the pond.
The barrel filter in action.
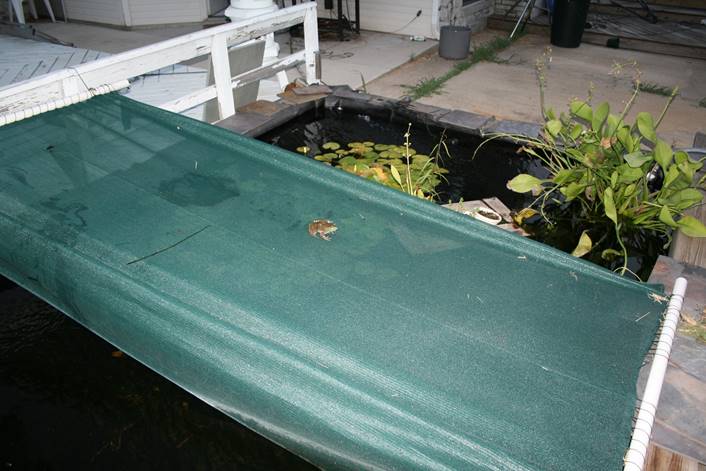
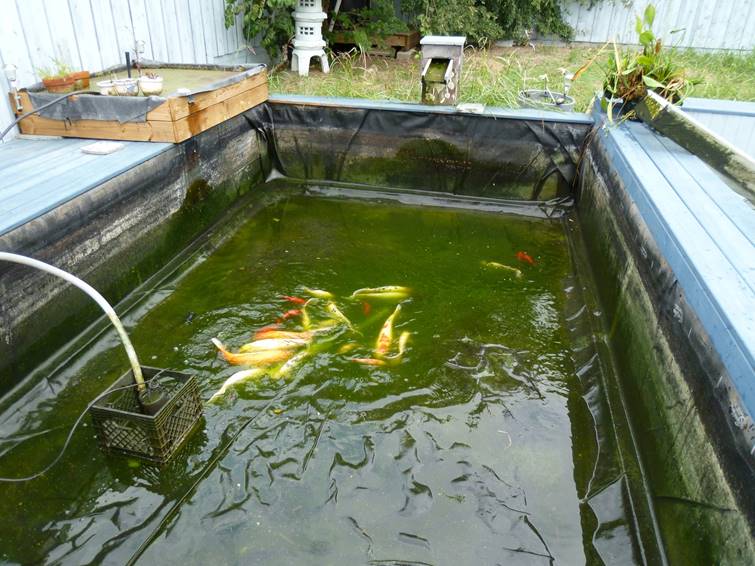
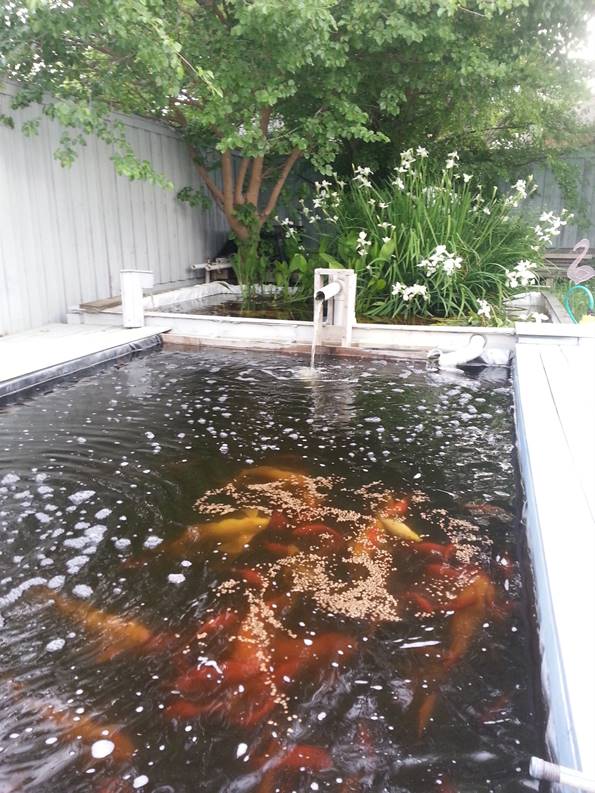
With more and bigger fish, algae is a bigger problem.
Adding shade cloth above the pond did help control the algae but looks ugly.
We tried a UV filter with little success.
Charlotte is removing a frog from the pond.

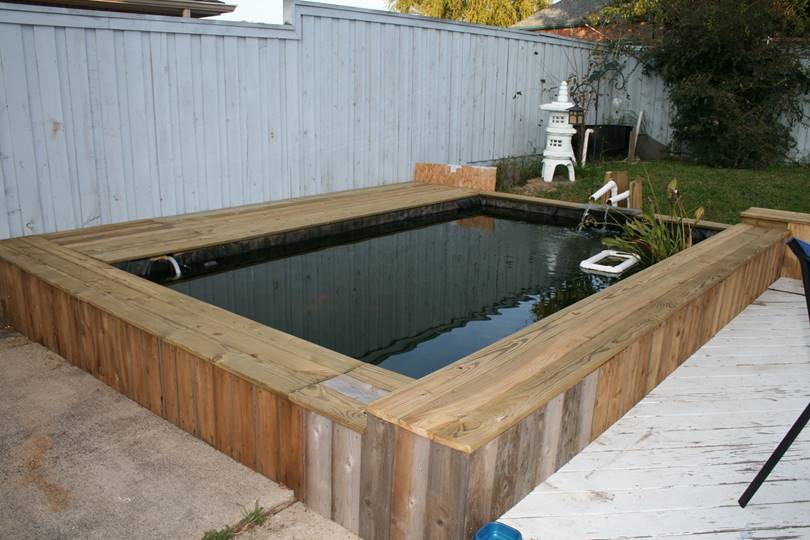
2009: Our deck needed to be fixed so, we decided to frame the pond with wood decking.
This really gave the pond a finished look.
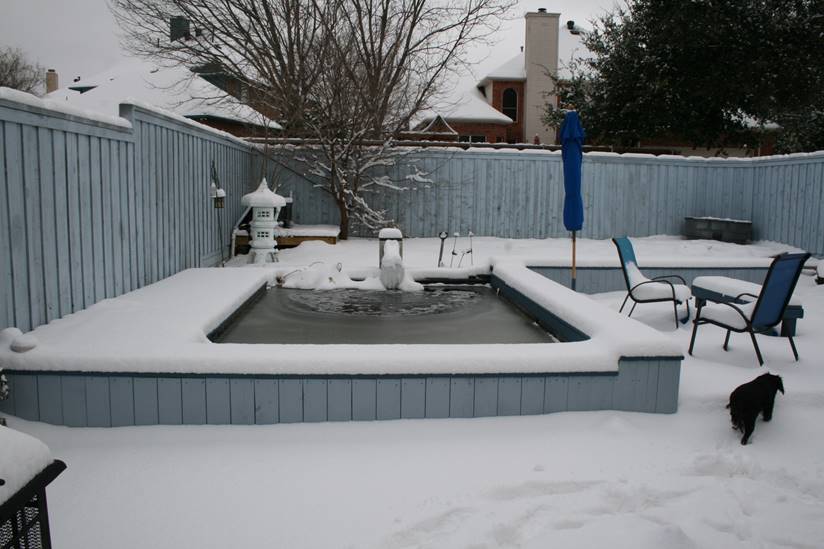
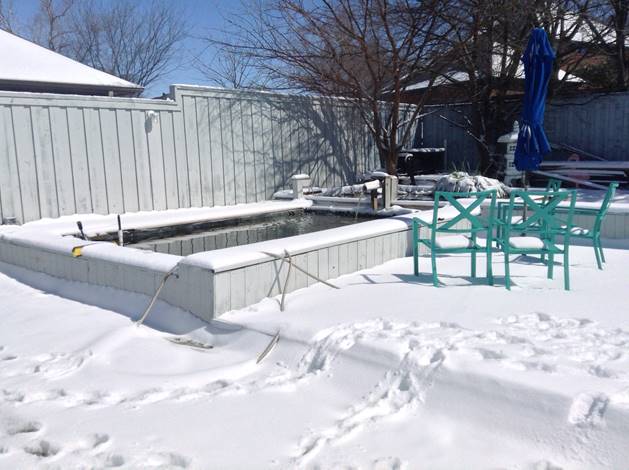
The koi survived the winter by going to the bottom of the pond.
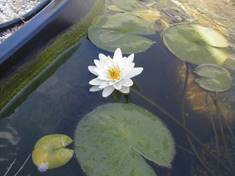
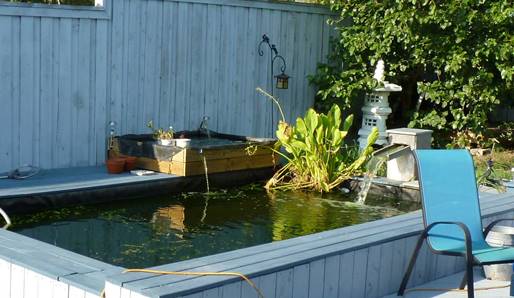
As the Koi got bigger, they started to eat the plants. One day, they figured out the Water Lilies tasted good. So, that’s when the plant pond was born.
Unfortunately, the Pond liner is not indestructible. If you look at the waterfall, you will see the piece of slate in the front is missing.
My pond started to lose water after several days of not finding the issue, I decided we would have to drain the pond and check the liner.
I bought a 12 foot in diameter inflatable pool, filled it with water from my pond and moved my fish into the pool while we cleaned and fixed the liner.
If you look under the waterfall there is a one inch slit in the liner. The good thing about the rubber liner is you can patch it like a tire.
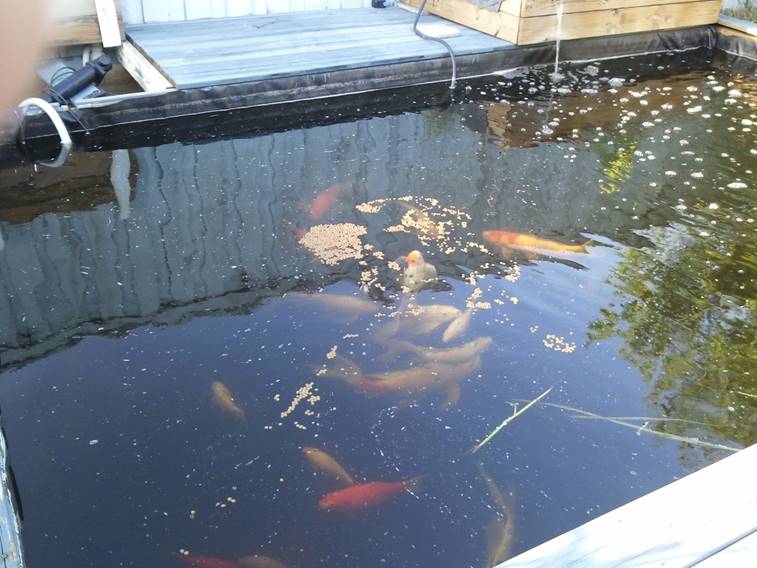
The fish back in the pond after several days in a kiddy pool.
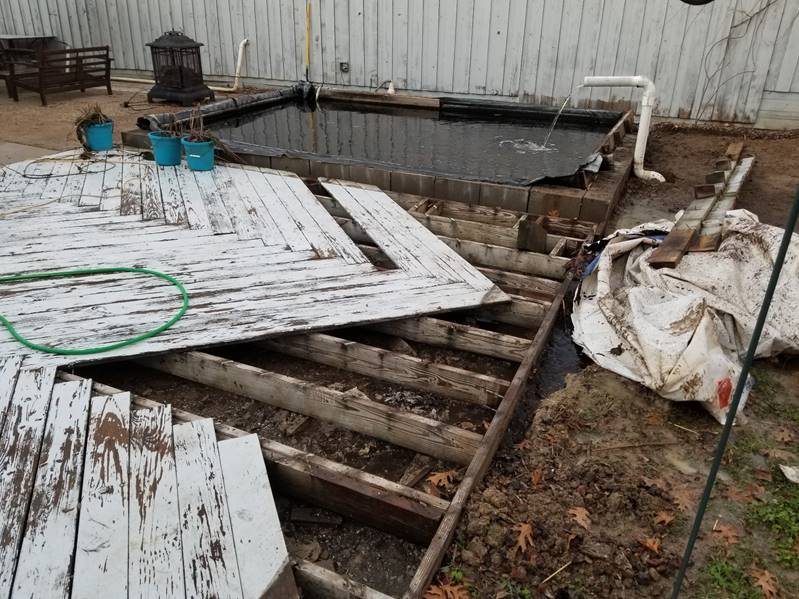
In 2013, after several years, the plant pond was causing the decking to buckle and needed to be moved.
Step one was to rebuild the filter platform and increase the pipe size. So, the next pond expansion was planned.
Then I framed the new pond with treated 2x10’s.
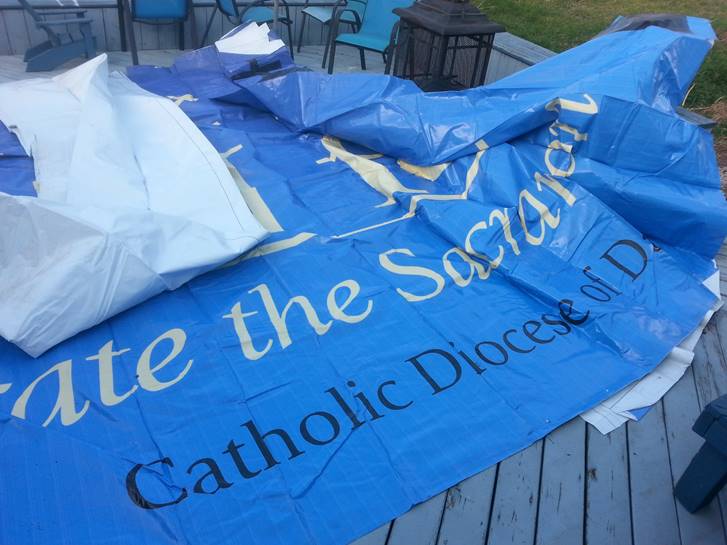
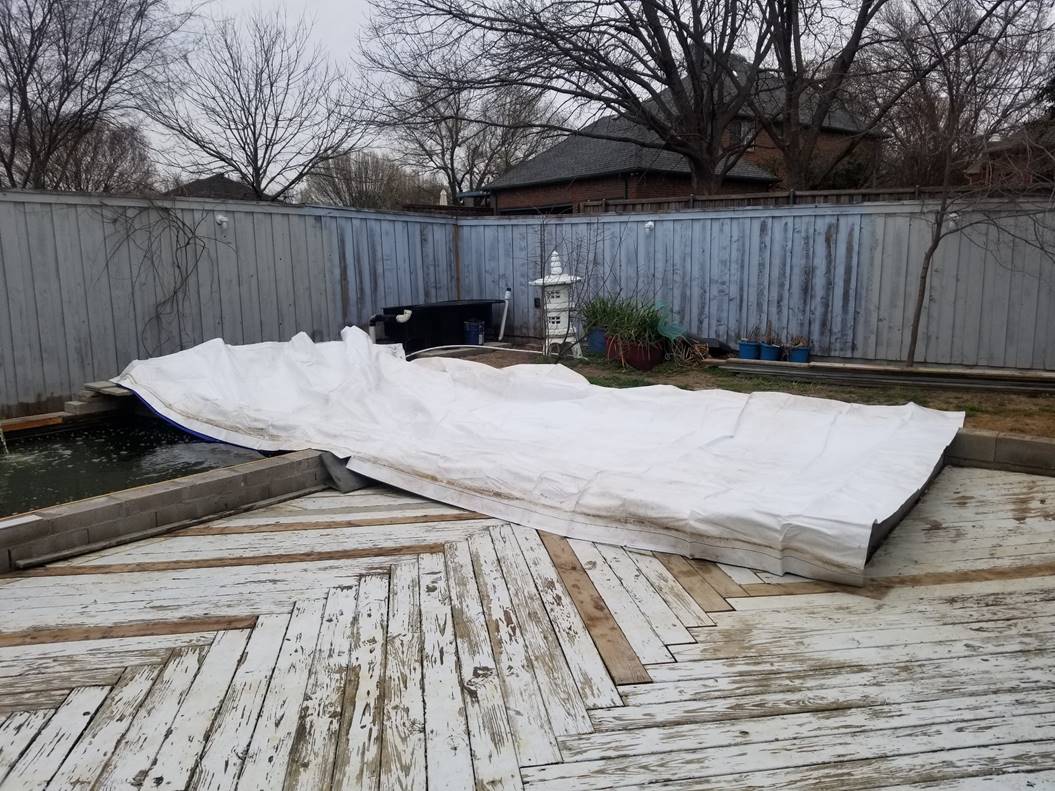
Next was to get a liner for the new plant pond. To save money I bought a billboard sign tarp, these are reinforced, and UV protected.
I got two 15’ by 45’ signs for $50. After I unrolled the sign, I knew I made a good decision.
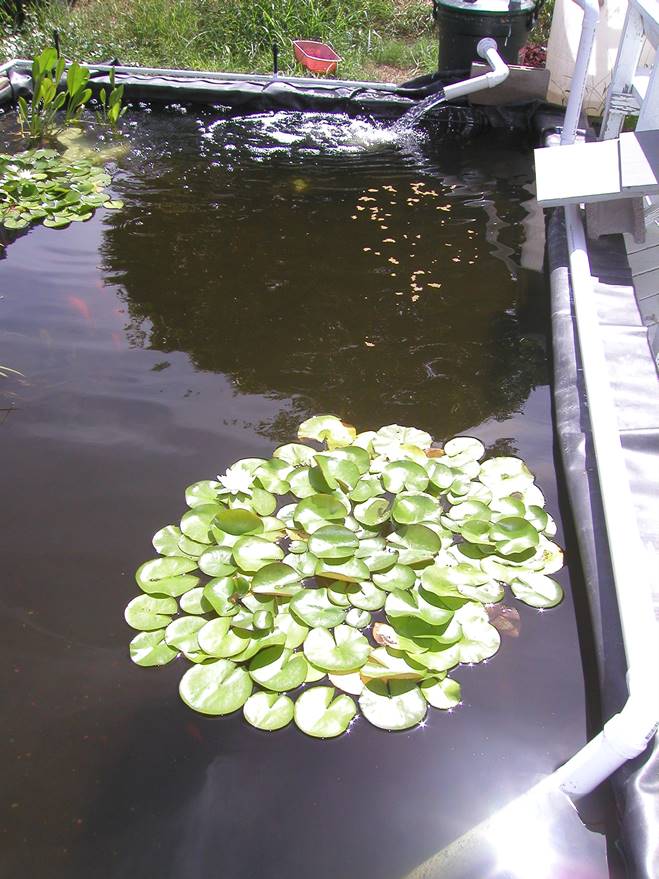
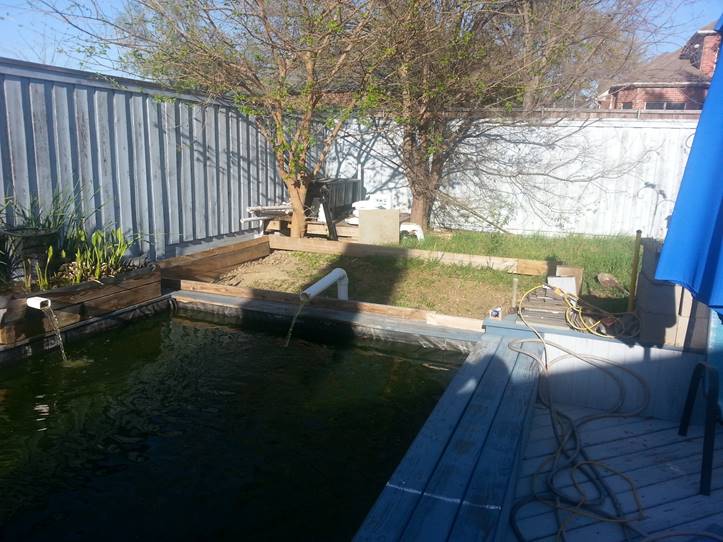
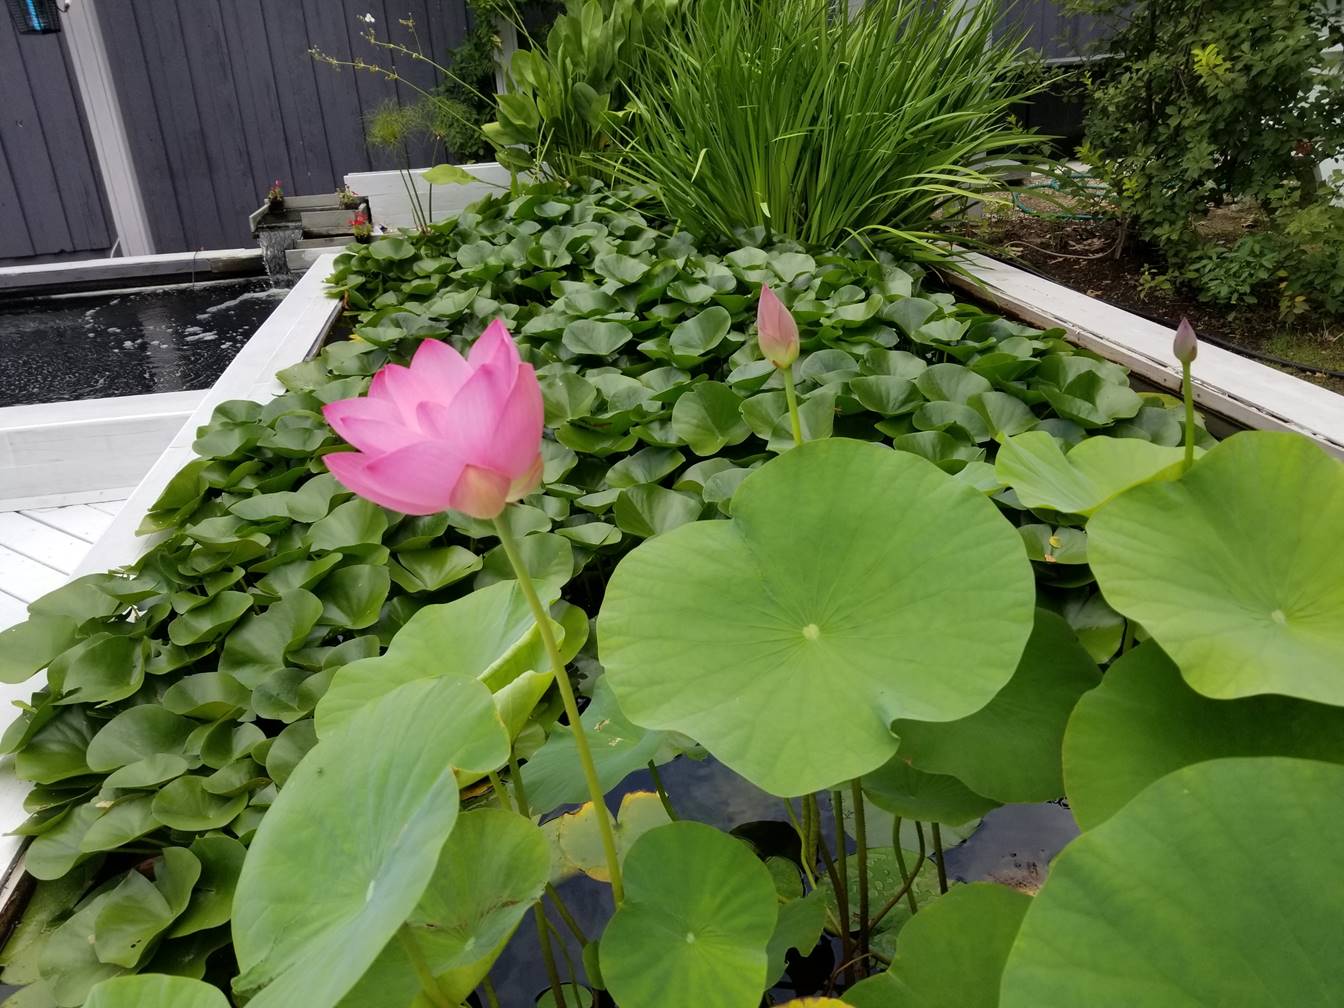
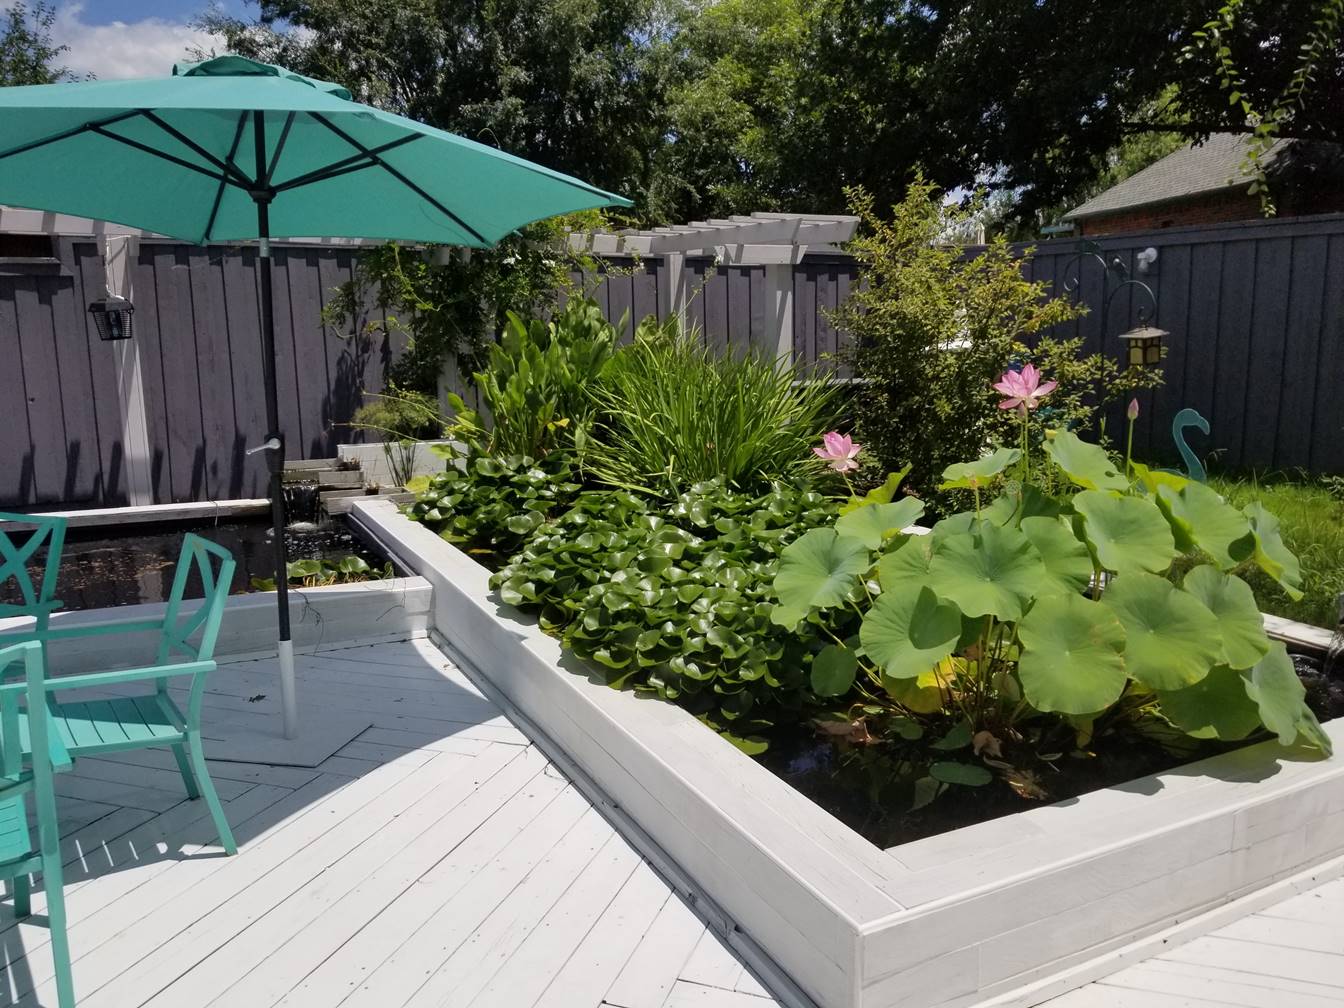
Here is the completed plant pond: 2nd generation. Aprox 750 gallons. 15’x 8’ with a depth from 8” to 20”.
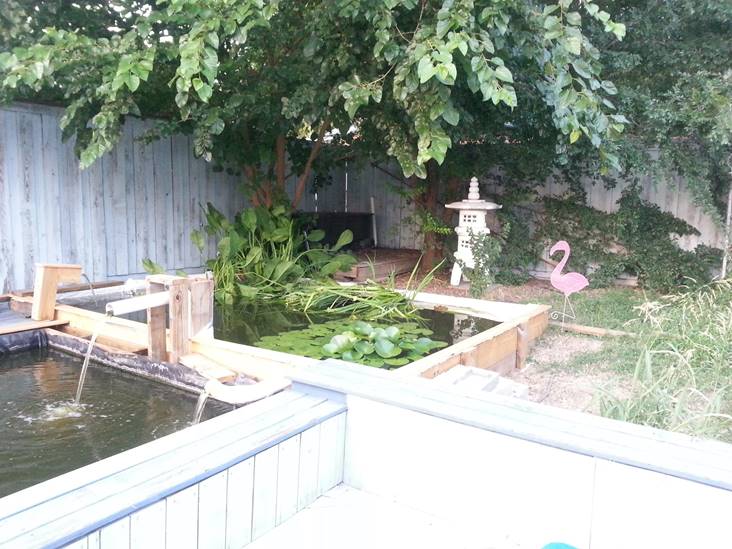
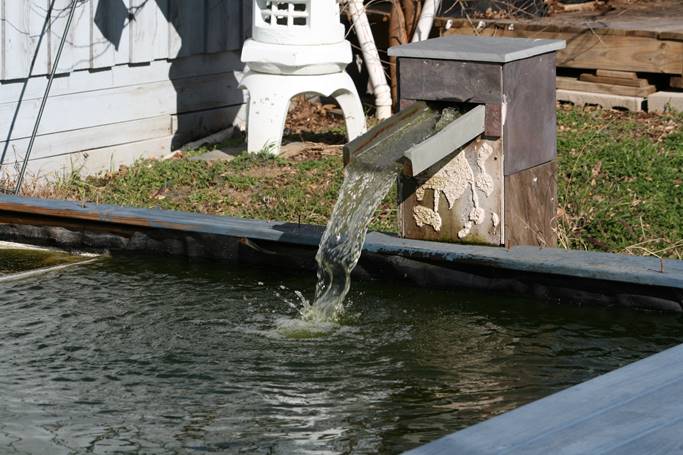
The plant pond is really a large settling tank. Water is pumped in on the fence side and overflows back into the Koi pond on the other side.
Every year I have to drain the plant pond and clean it out.
But the Koi pond stays clean. Luckily, it does not have to be cleaned on a yearly basis.

Our pagoda behind the mock cherry tree.

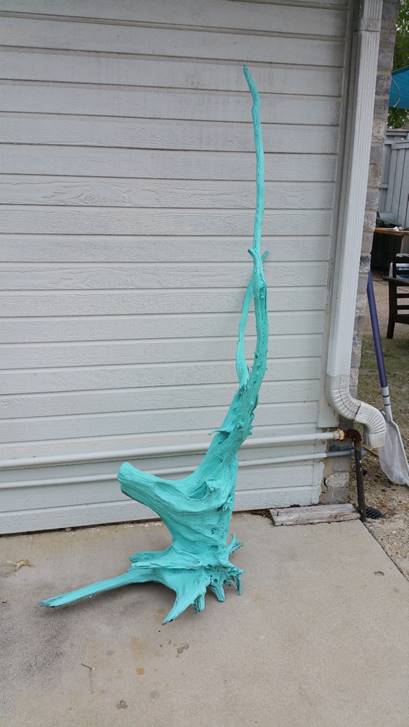
Barbara’s driftwood, found at the lake and painted by me.
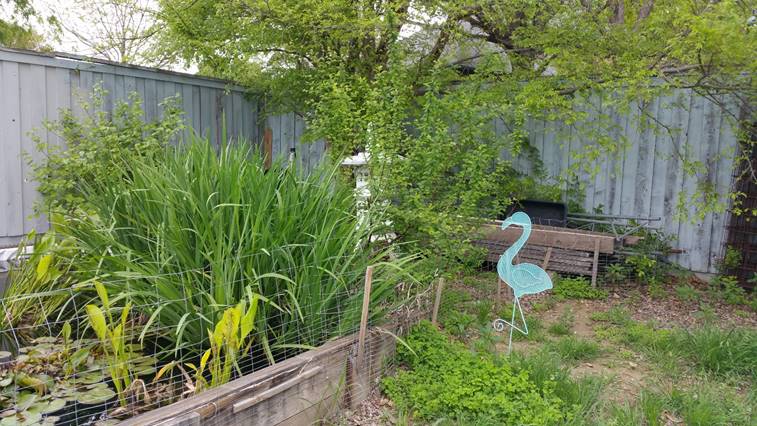
Barbara’s not pink flamingo next to the plant pond.
2018: The trees in the back by the filter started dying and dropping branches into the plant pond. This is not good for the liner or someone in the alley (behind the house).
We had to cut them down.

Meanwhile, the wood around the pond was slowly deteriorating.
So: a major pond revision was planned.
1. Replace the wood with cement and tile.
2. Double the size of the plant pond.
3. Add a bottom drain to the plant pond.
4. Level and terrace the bottom of the plant pond.
5. Replace the filter wooden platform with cement.
6. Add a water line to help with filter cleaning.
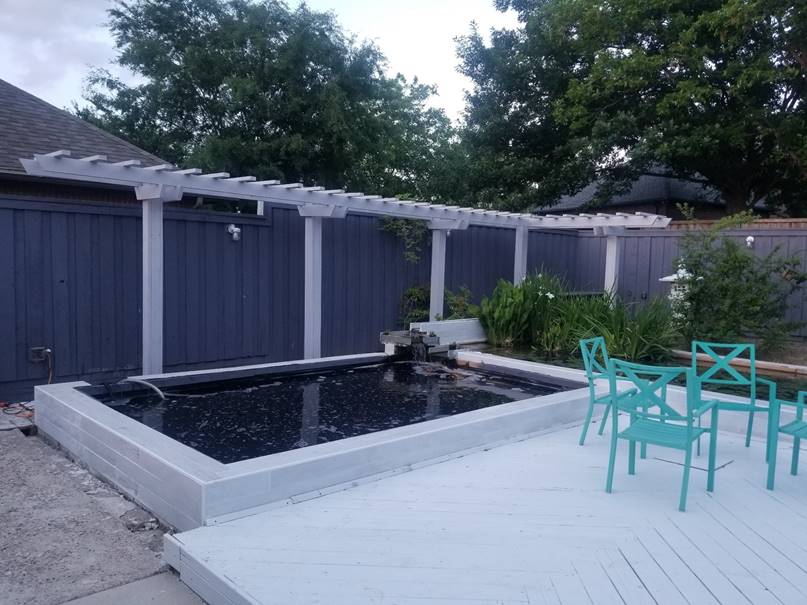
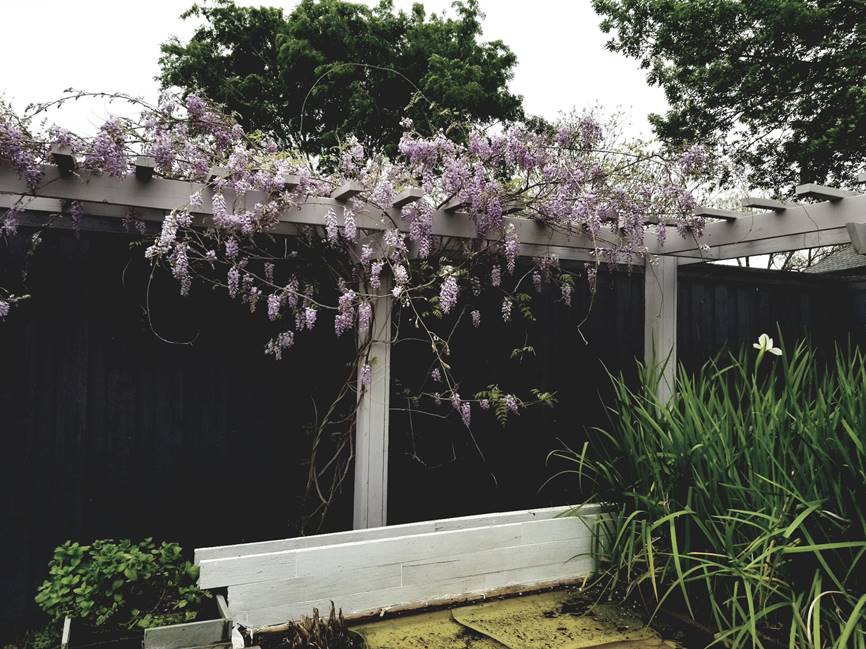
7. Add a trellis for the wisteria to grow on.
8. Contain the Lotus in a large pot.
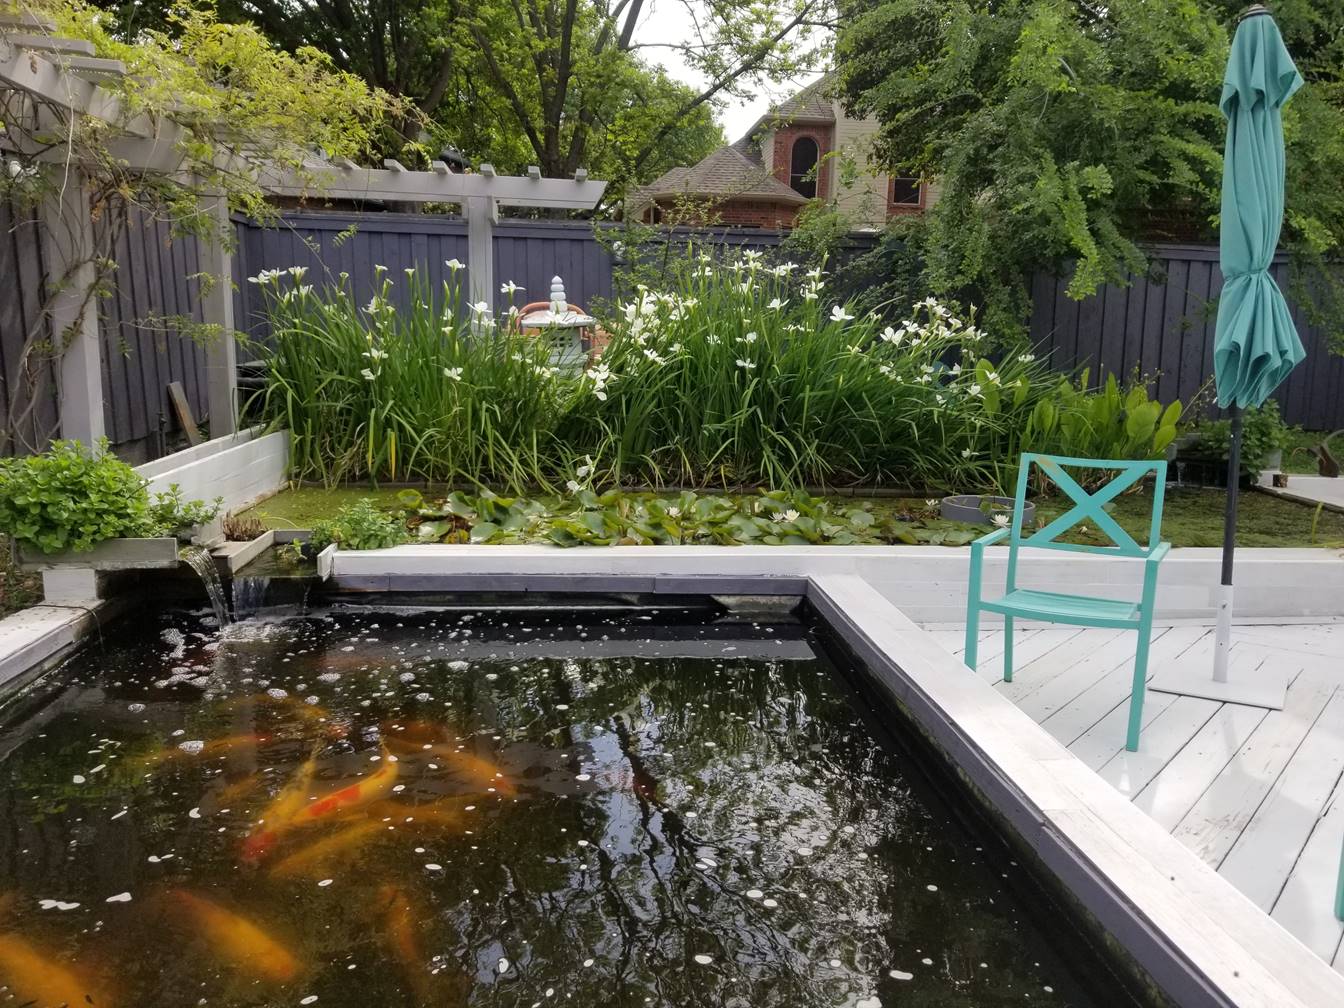
9. Remove the old deck seating and replace deck boards.
And do all of this during the winter so I don’t hurt the fish of the plants.
December 31st, 2018, we began demolition. It was a ton of work.

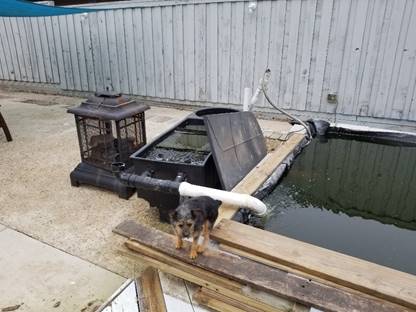
The bottom drain for the plant pond.

New Filter pluming.
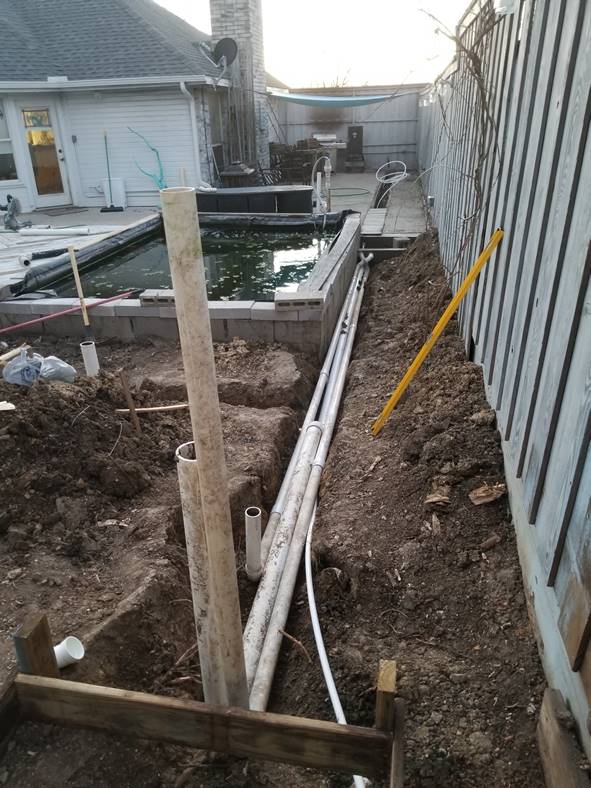
New pump vault and pluming.
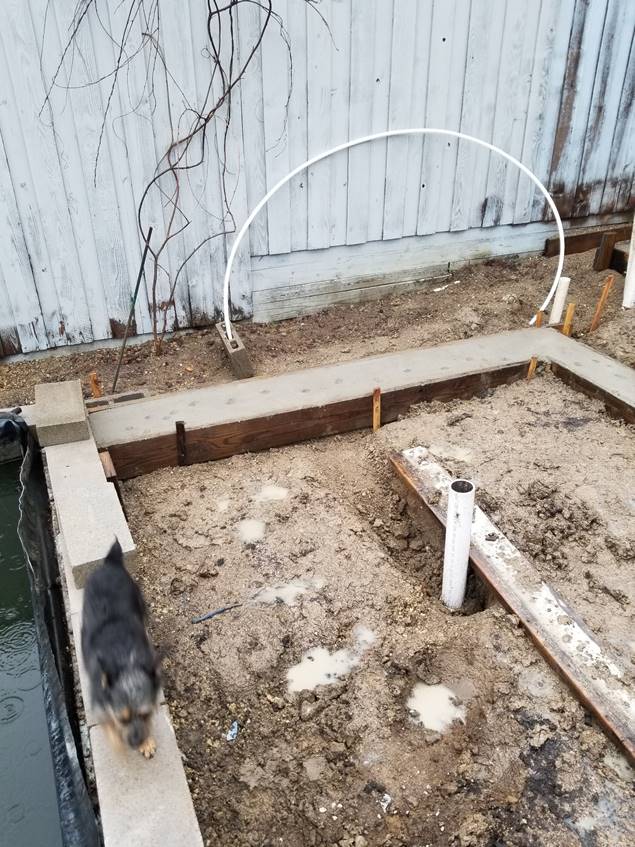
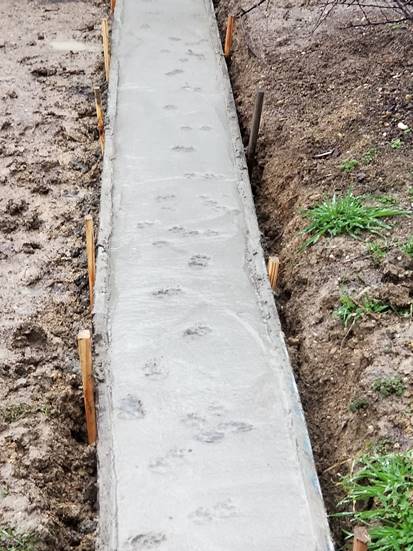
Footings for the plant pond inspected by Jessy. She left her paw pints.
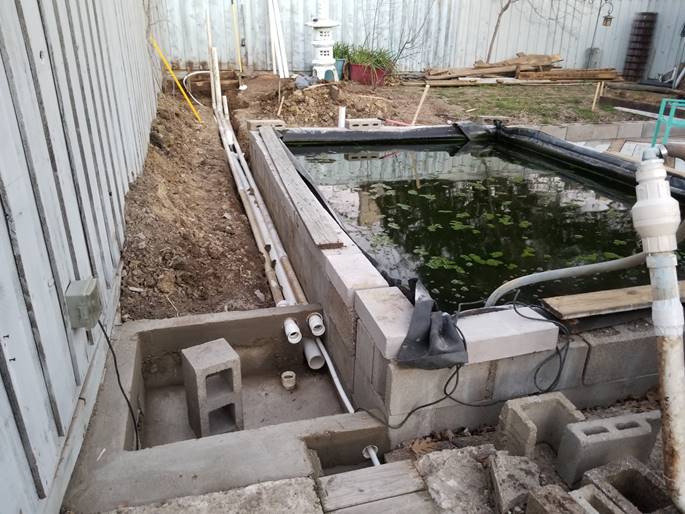
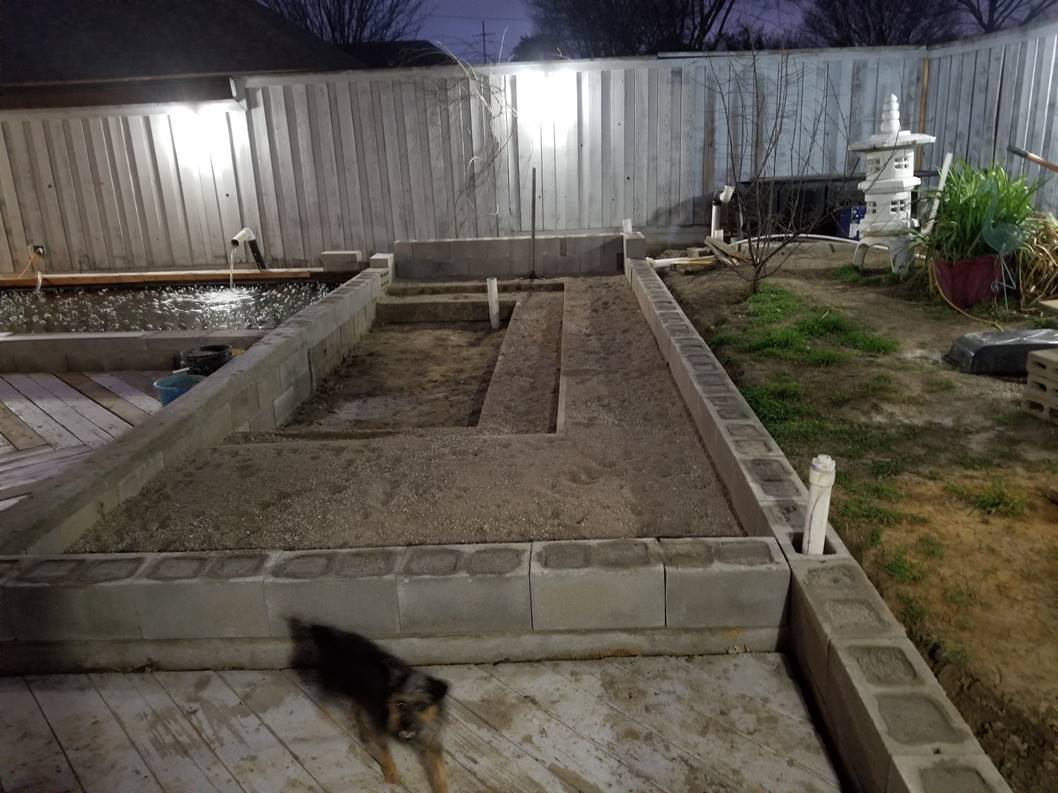
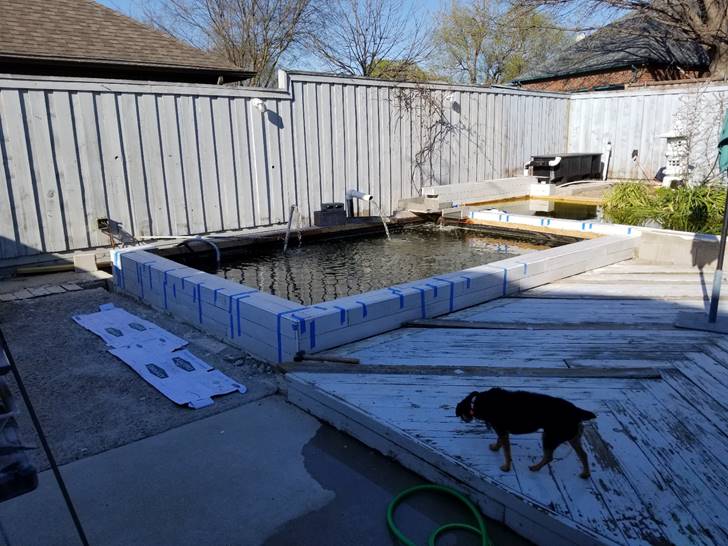
The plant pond block work is done. Jessy is checking it all out.
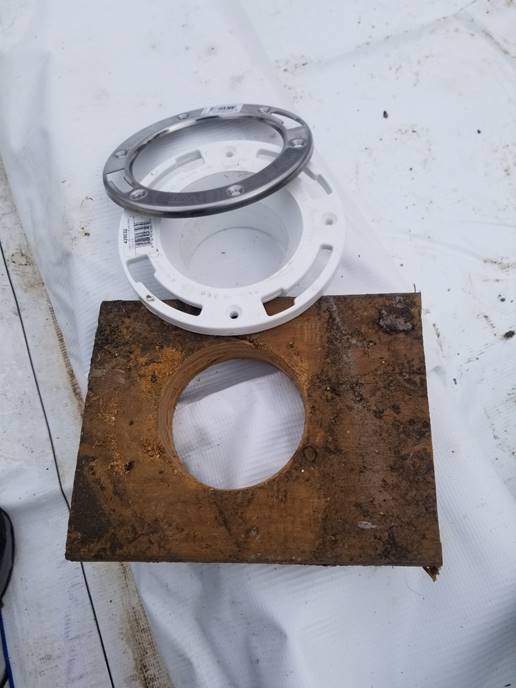
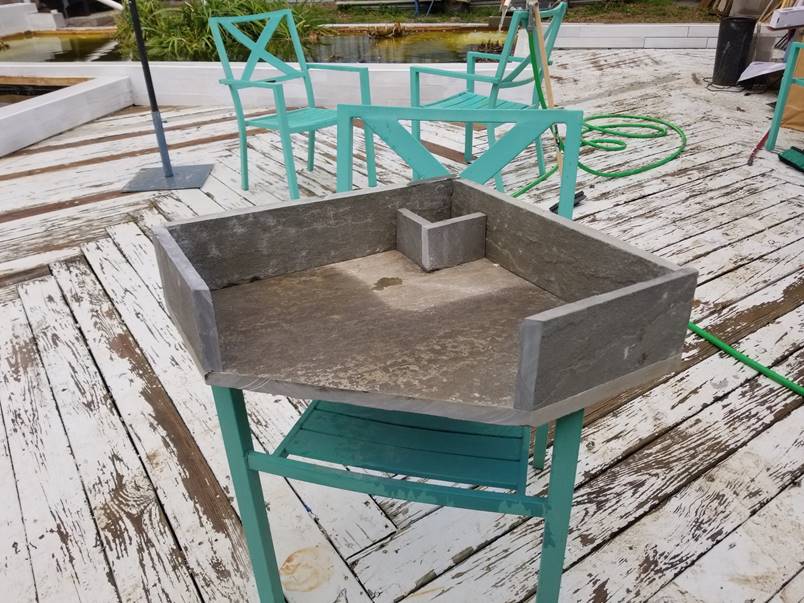
My homemade bottom drain. I used a plumbing pressure test plug to close the drain.
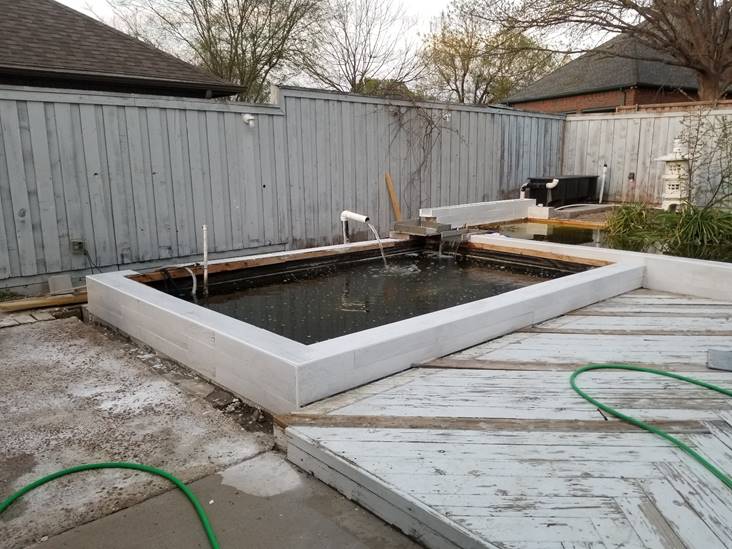
Plant pond with water.
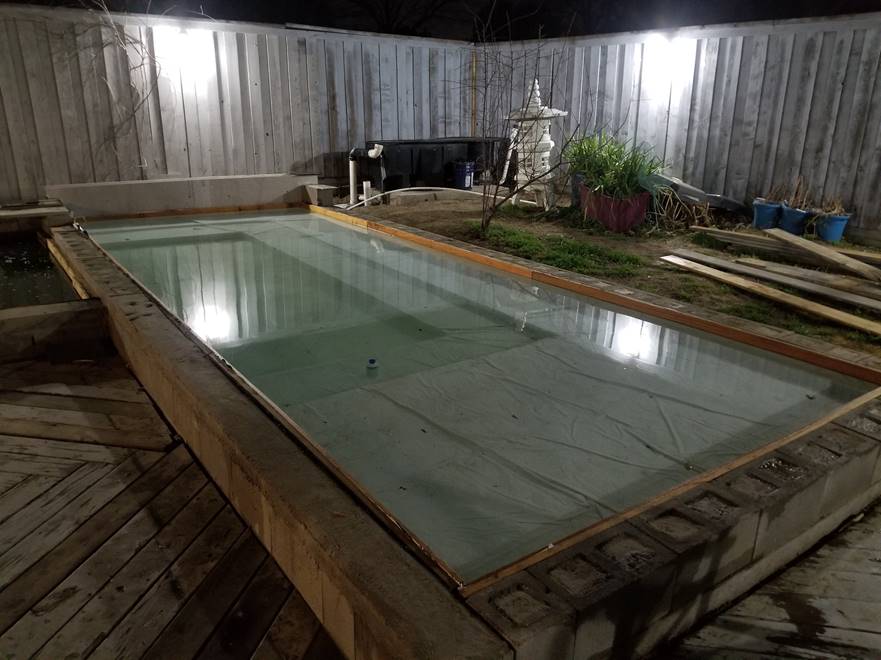
Tiling the sides of the pond.
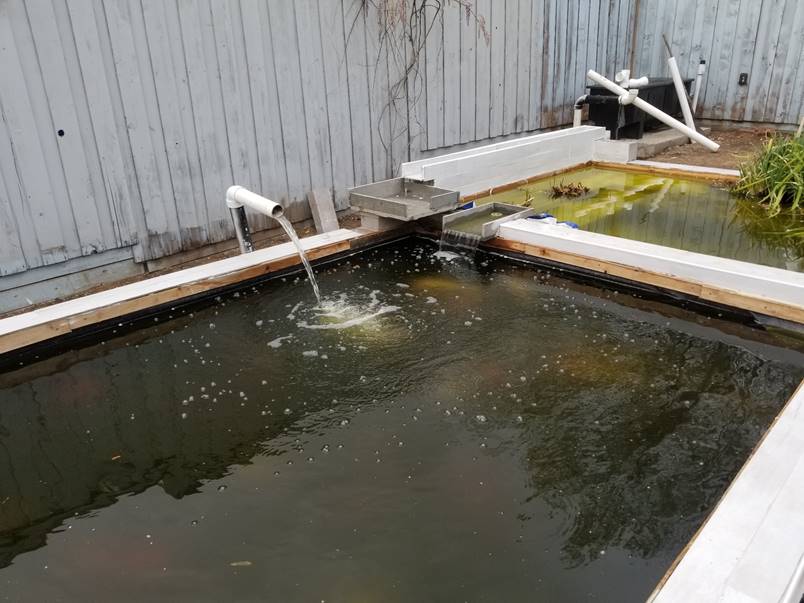
Gluing up the pond waterfall. I used a tile saw to cut the stone and silicone to glue the sides.
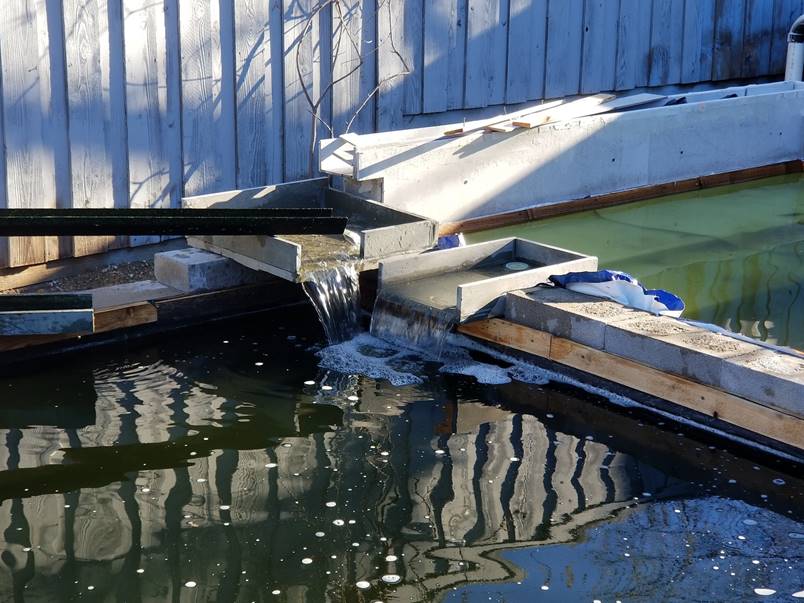
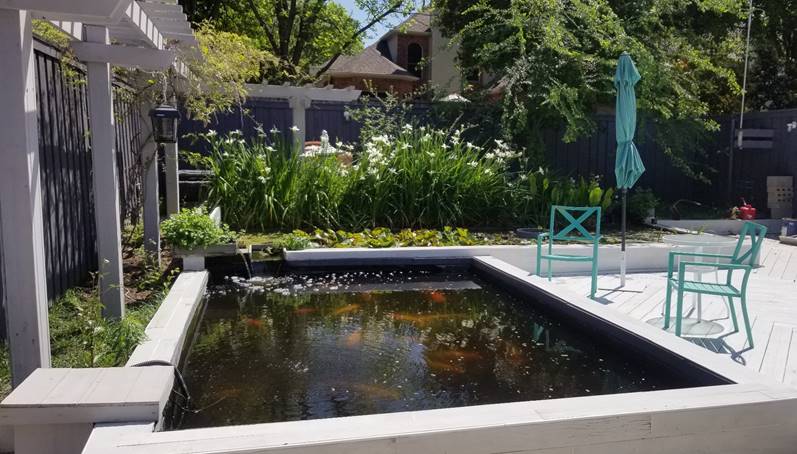
The plant pond overflow waterfall, the filter water trough and waterfall in place.
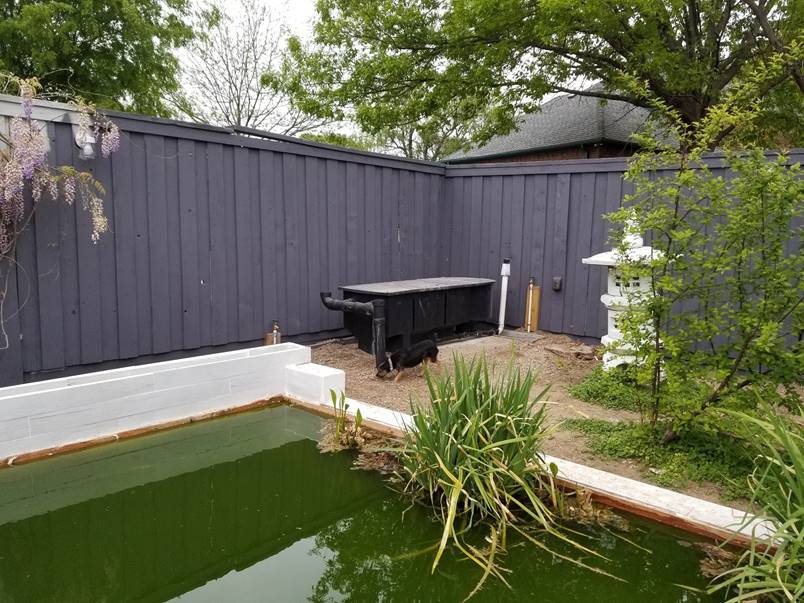
A new coat of paint on the fence and the filter finally plumbed in and pipes all buried.
2019: The pergola for the Wisteria to grow on.
2020 Irises in bloom, I divided them and made a 1 foot wide by 12-foot-long planting in the back of the plant pond.
This gives a nice backdrop and hides the pond filter.
Spring 2020: The Wisteria are in bloom.
Yes, you can have too many plants in your pond.
The enemy—the evil bird who tries to eat the Koi.
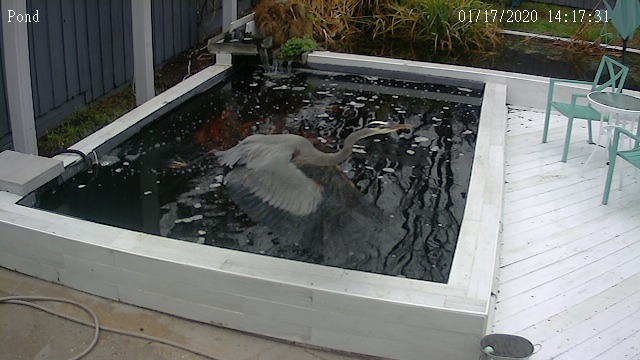
Our Pond